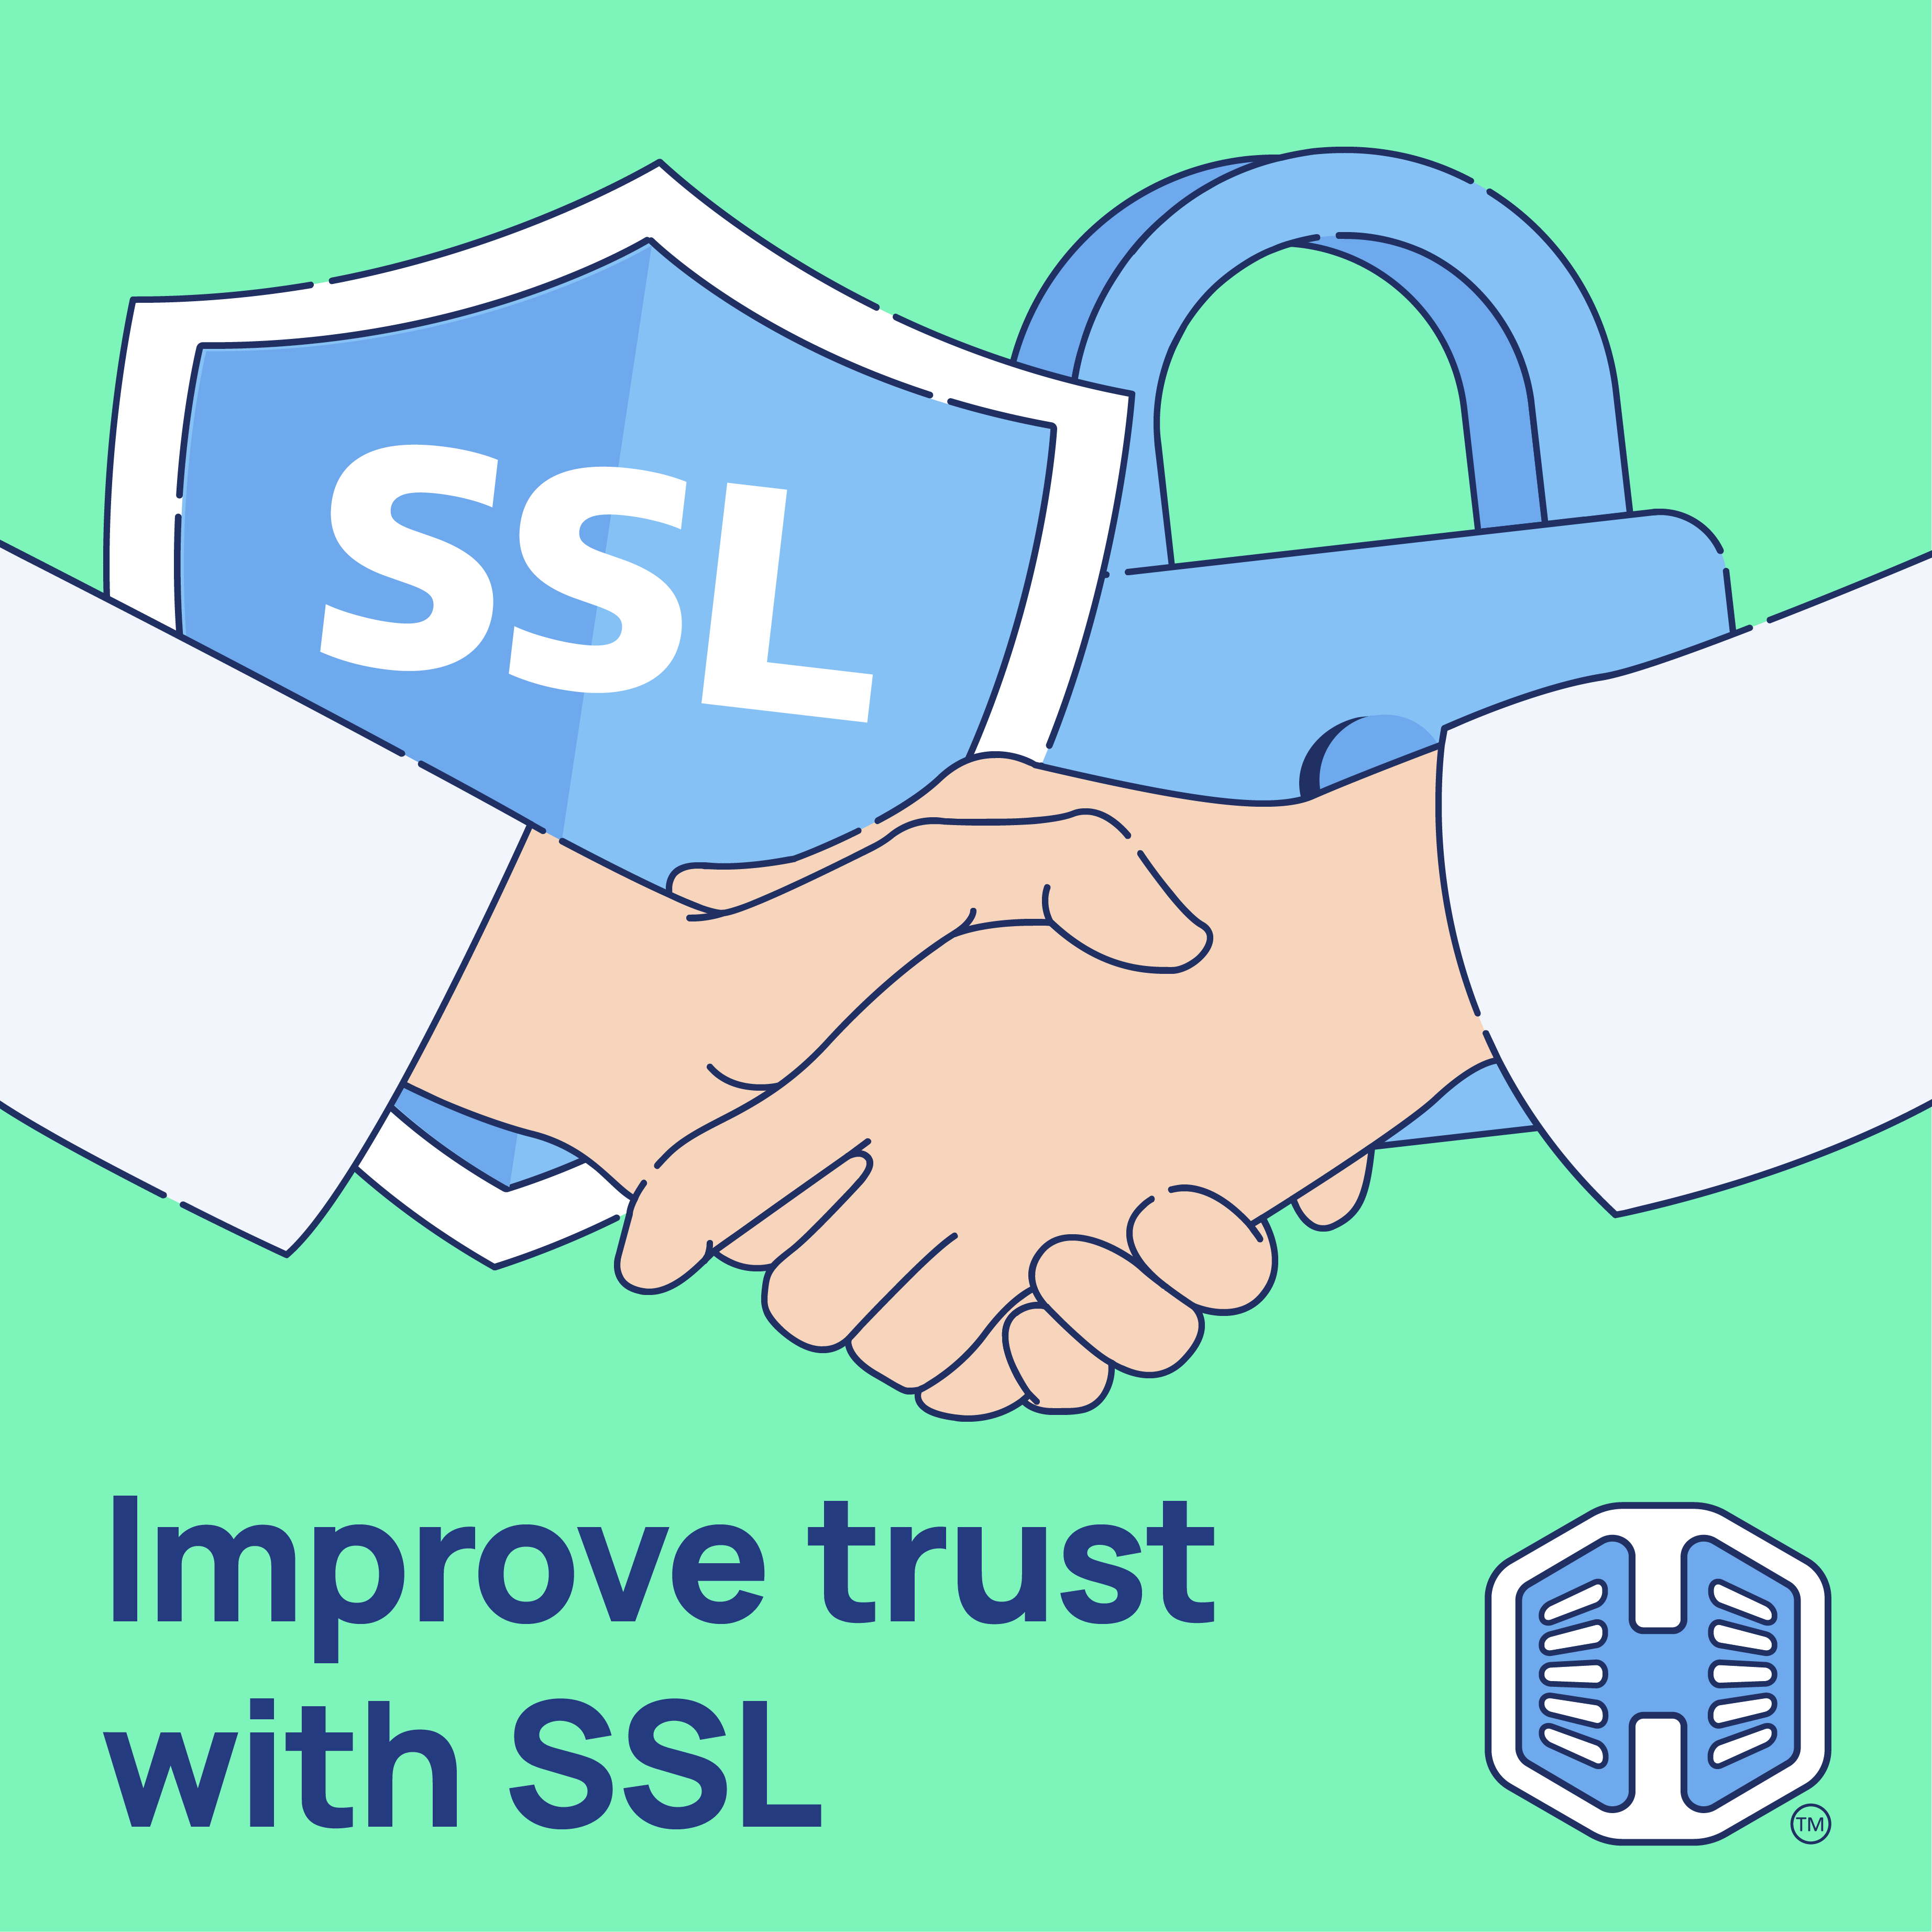
An SSL certificate is considered trusted when it’s issued by a recognized Certificate Authority (CA) and verified by web browsers. Trusted SSLs confirm your websites’ identity and guarantee that your visitors’ connections are safe and legitimate.
An untrusted SSL certificate, such as a self-signed certificate, hasn’t been validated by a recognized authority. When users visit a site with an untrusted certificate, browsers will display warnings like “Your connection isn’t private,” which can discourage visitors and damage your reputation.
Hosted.com® exclusively uses trusted SSL Certificates from leading global Certificate Authorities. These certificates are automatically installed through cPanel and verified by all major browsers, ensuring your visitors always consider your site as safe and secure.
TABLE OF CONTENTS
Why Trusted SSL Certificates Matter
With Hosted.com®, every website benefits from globally trusted SSL Certificates – automatically configured, continuously updated, and designed to keep your online presence secure and professional.
- Trusted CAs: Hosted.com® partners with globally recognized authorities to issue fully verified SSLs.
- Browser compatibility: Trusted certificates prevent warning messages and ensure smooth access.
- Brand protection: Verified SSLs protect your online reputation and build user confidence.
- No manual steps: AutoSSL automatically installs and renews trusted certificates.
- Advanced security: Trusted certificates help prevent phishing, impersonation, and identity spoofing.

Additional Information
Login to Hosted.com® Account
1. Go to the Hosted.com® website Account Login page.
2. Enter your Email and Password and click the Sign In button.

3. You will see the Hosted.com® Dashboard, displaying the Manage Account menu on the left and your Account Information, Account Overview and Open Support Tickets on the right.

Login to cPanel from your Hosted.com® Dashboard
4. Click on Manage Services to view the sub-dropdown menu and select the hosting package for the domain you want to work with – in our example we are using WordPress Hosting.
5. Click the Manage button to the right of the domain name you want to access.

6. The display will now show Product Information, Quick Manage, Resource Usage and Site Statistics for that domain name.

7. Under Product Information, scroll down to Control Panel, which will display cPanel to the right, and click on the Login button.

8. The cPanel Dashboard will now be displayed.