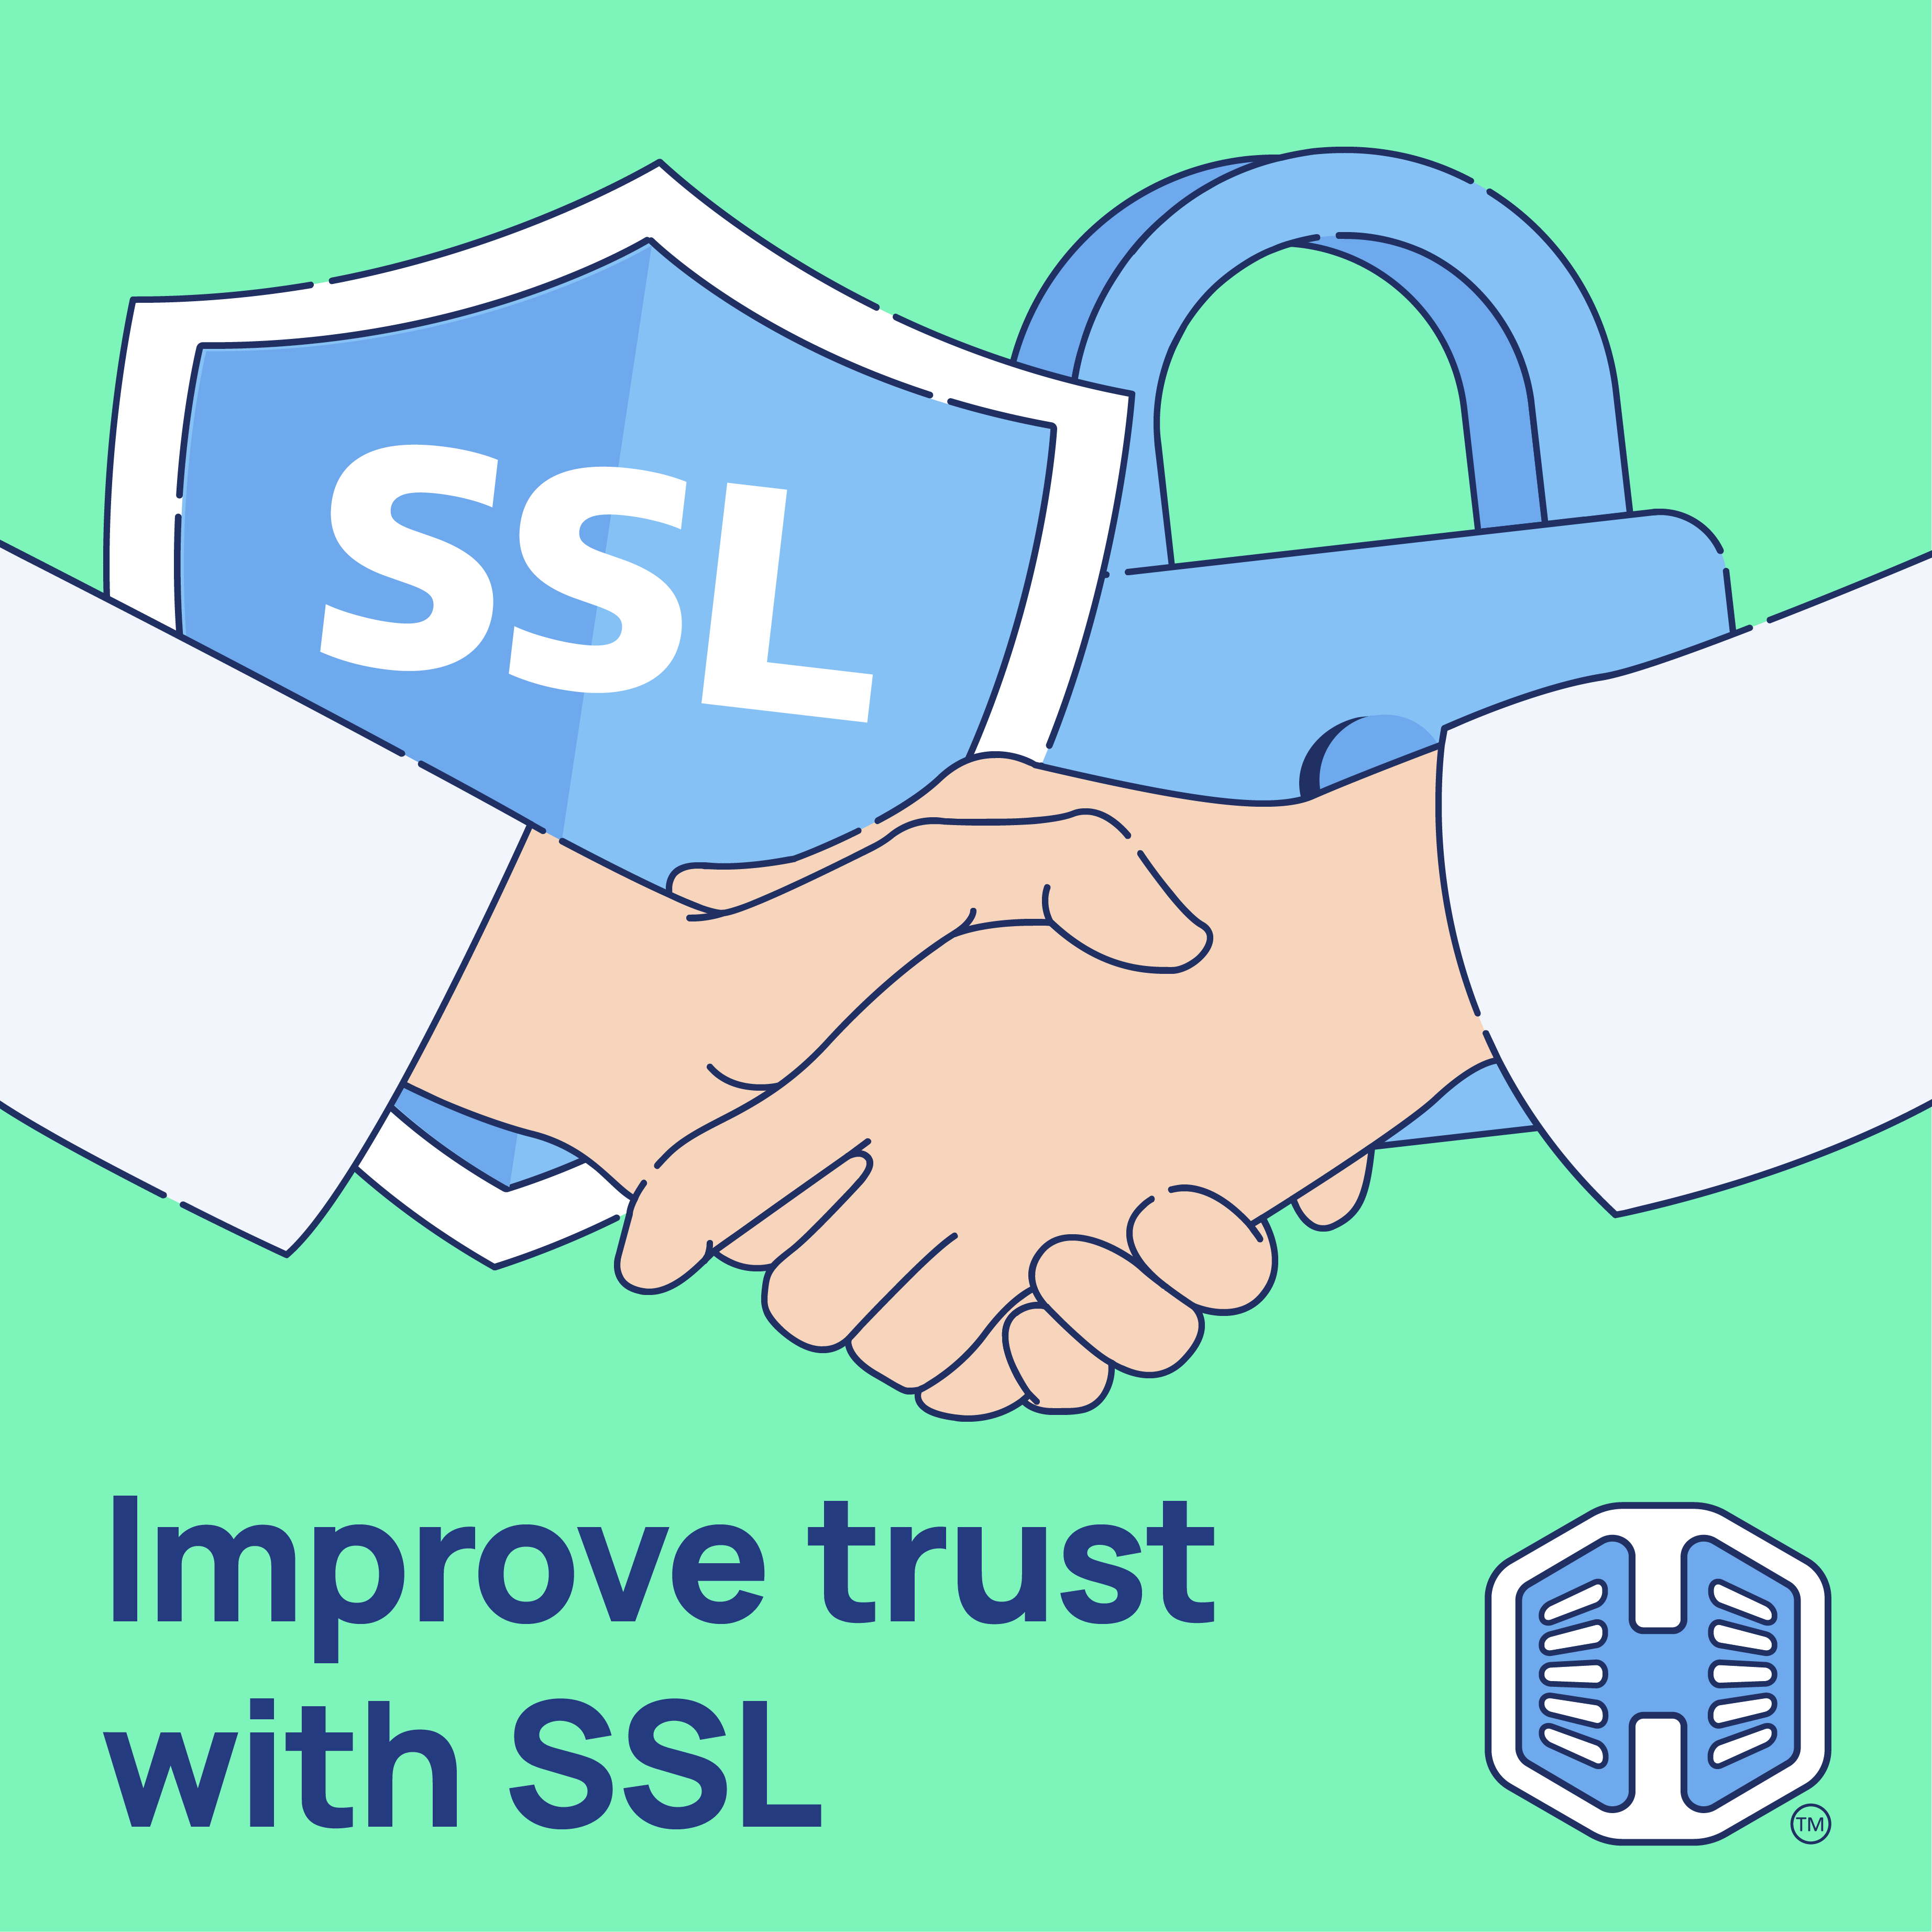
Running a website and not having an SSL certificate exposes your visitors’ data and your brand to serious risks. Without encryption, sensitive information such as passwords, contact forms, and payment details can be intercepted by hackers during transmission.
Also, modern browsers like Chrome, Firefox, and Edge clearly warn users when they visit non-secure (HTTP) sites by displaying a “Not Secure” message. This can cause potential customers to leave immediately and harm your credibility.
Search engines also penalize non-HTTPS websites, which can harm your visibility and rankings. Fortunately, every Hosted.com® hosting plan includes Free SSL Certificates, ensuring your website is always protected and trusted by default.
TABLE OF CONTENTS
Risks of Not Having an SSL Certificate
At Hosted.com®, SSL protection is automatic and free. Through AutoSSL, your website receives continuous encryption – no setup, no renewal costs, just reliable security all year long.
Here’s why installing an SSL certificate is a must for your website:
- Security: Prevents data theft, phishing, and man-in-the-middle attacks.
- Trust: Builds confidence with visitors by showing a secure padlock icon.
- SEO: Google ranks HTTPS sites higher than HTTP sites.
- Legal compliance: Helps you meet privacy and data protection laws, such as CCPA and GDPR.
- Brand reputation: Protects your online image and professionalism.

Additional Information
Login to Hosted.com® Account
1. Go to the Hosted.com® website Account Login page.
2. Enter your Email and Password and click the Sign In button.

3. You will see the Hosted.com® Dashboard, displaying the Manage Account menu on the left and your Account Information, Account Overview and Open Support Tickets on the right.

Login to cPanel from your Hosted.com® Dashboard
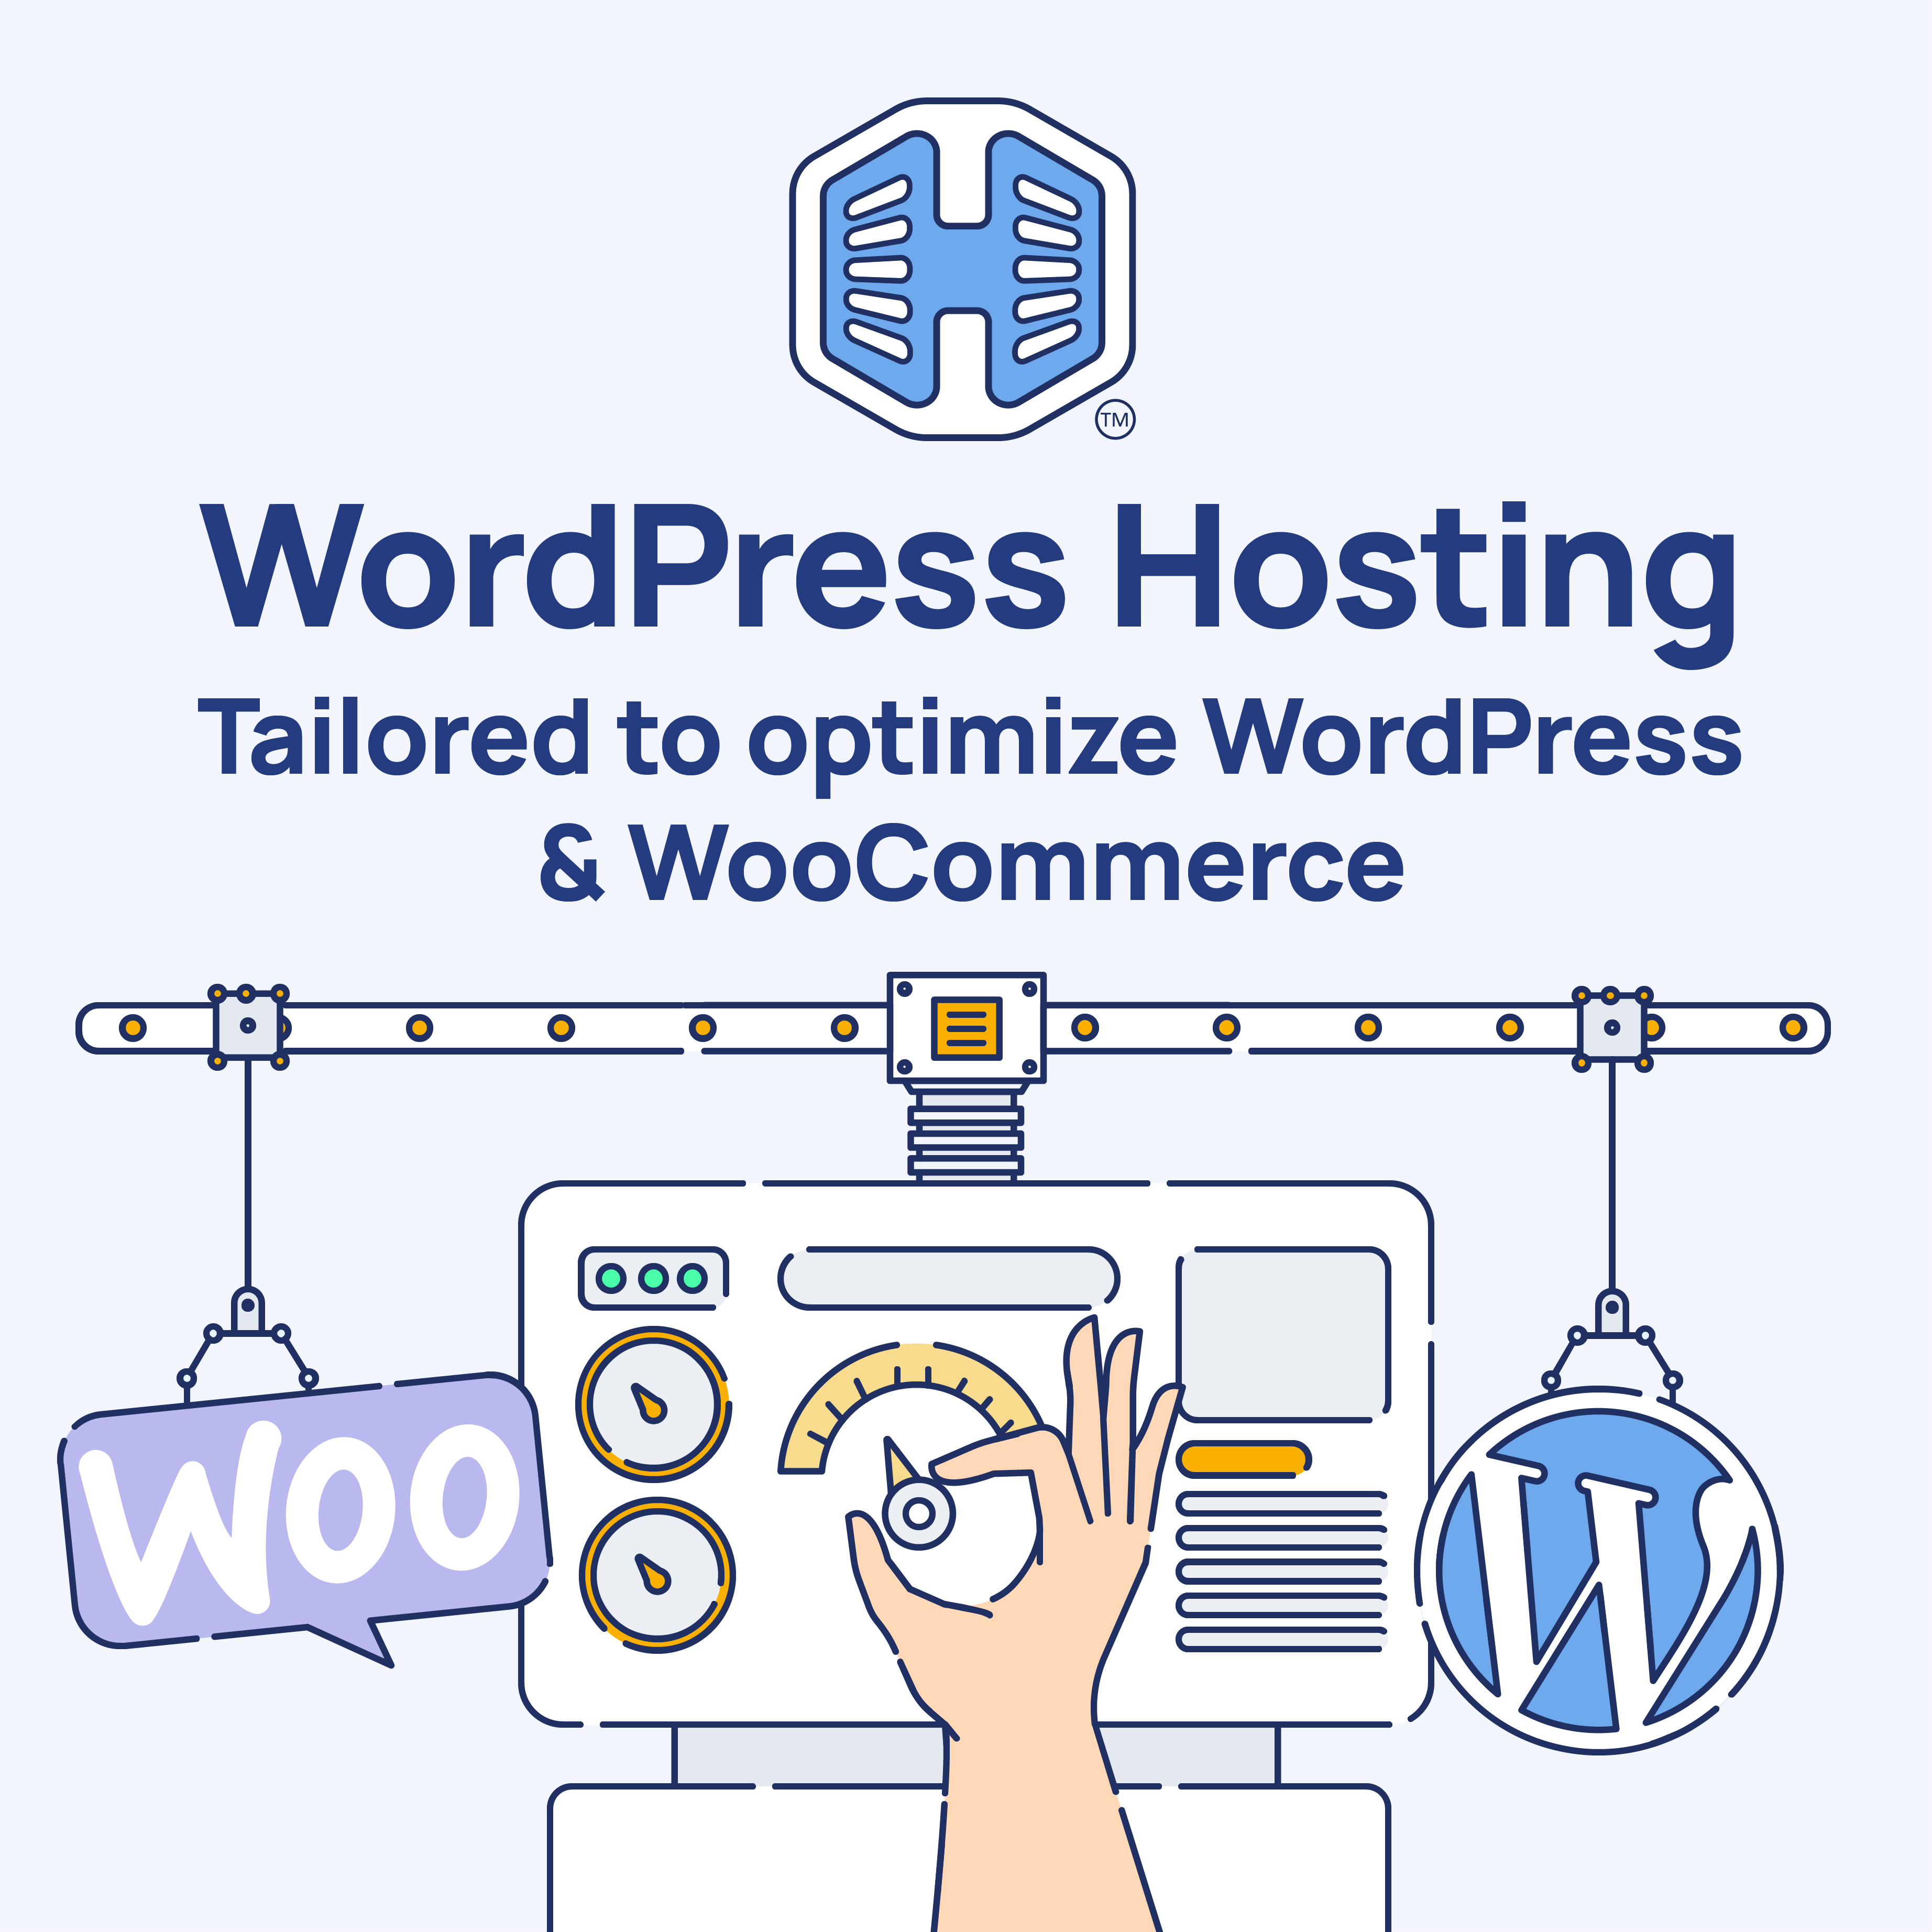
4. Click on Manage Services to view the sub-dropdown menu and select the hosting package for the domain you want to work with – in our example we are using WordPress Hosting.
5. Click the Manage button to the right of the domain name you want to access.

6. The display will now show Product Information, Quick Manage, Resource Usage and Site Statistics for that domain name.

7. Under Product Information, scroll down to Control Panel, which will display cPanel to the right, and click on the Login button.

8. The cPanel Dashboard will now be displayed.