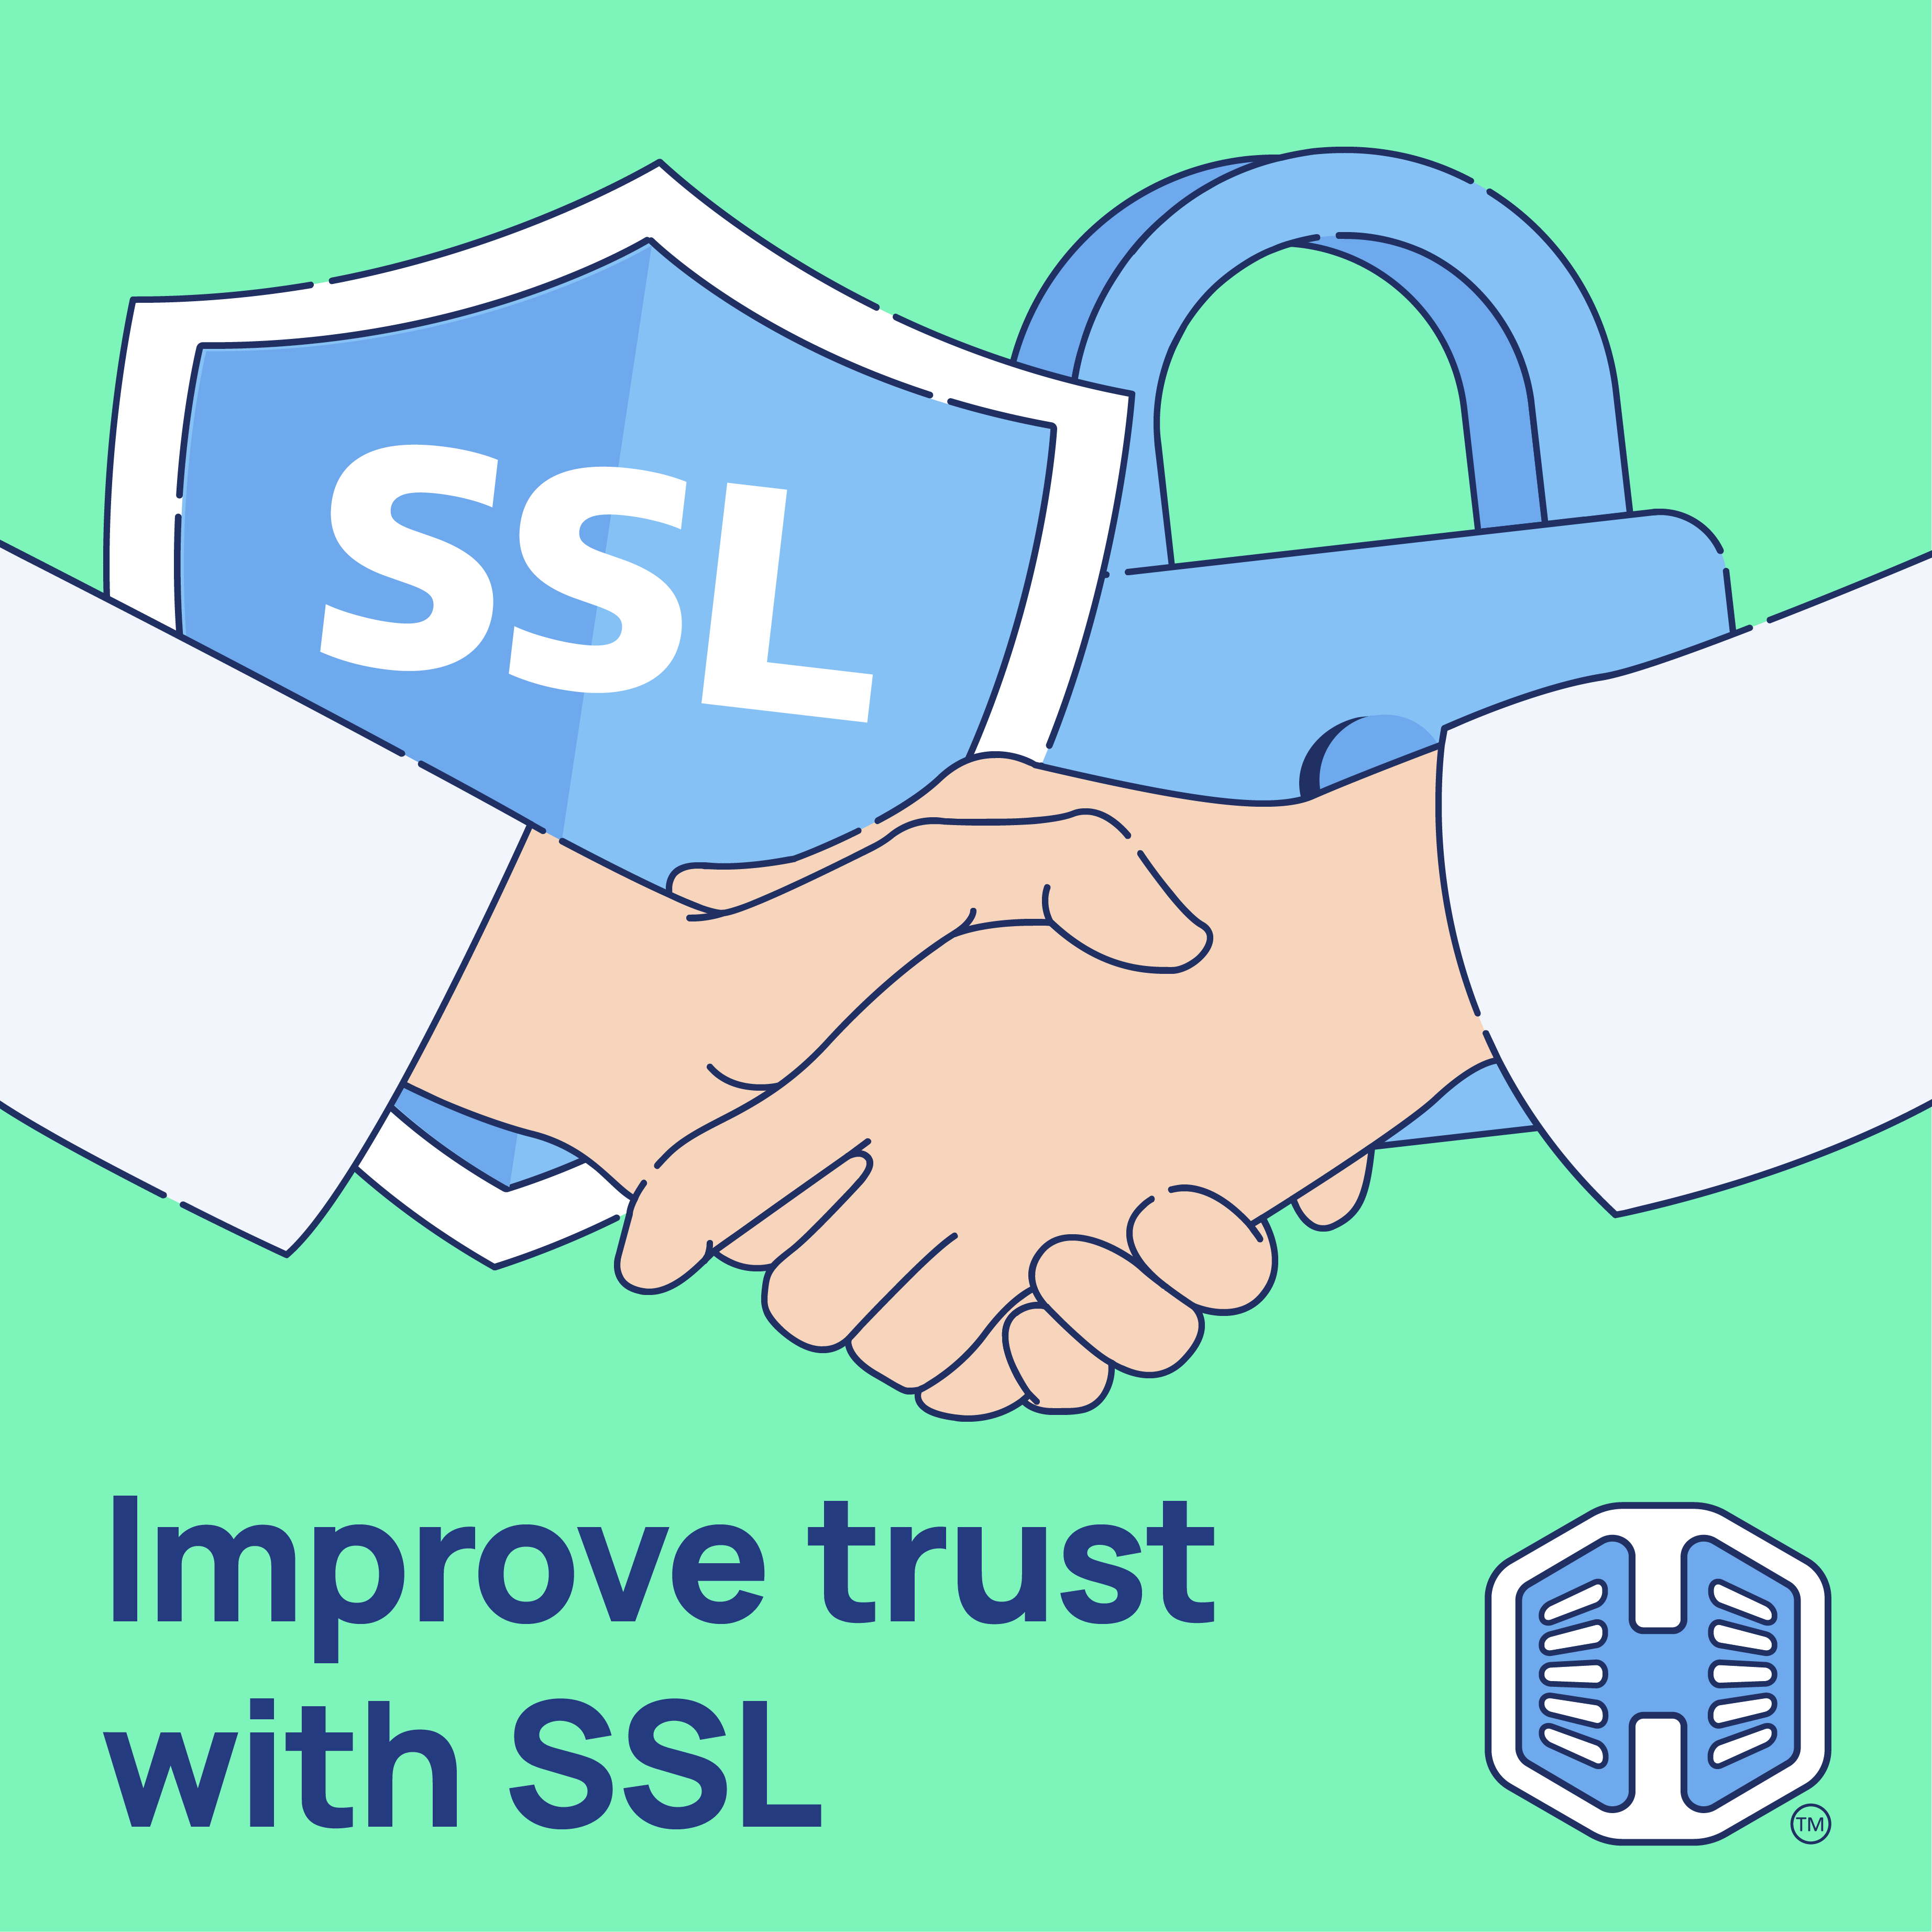
Hosted.com® recommends that every small business website implement SSL/TLS, even if the site does not process payments. SSL/TLS encrypts communications, protects login credentials, contact form submissions, and other sensitive customer data.
Encryption is critical because unsecured websites expose businesses and customers to cyber risks, including identity theft and data interception. SSL also plays a key role in building customer trust. Visitors expect modern websites to be secure, and seeing HTTPS in the browser gives them confidence that their interactions are protected.
TABLE OF CONTENTS
Why implement SSL/TLS for Small Business Websites
Without SSL, browsers label websites as “Not Secure,” which can damage credibility and deter engagement. Small businesses benefit from SSL/TLS not only by protecting customer data, but also by improving trust, visibility, and compliance. Hosted.com® offers free SSL Certificates on all cPanel and WordPress Web Hosting plans.

Additional Information
- Search Engine Optimization (SEO): Secure websites are favored by search engines, giving small businesses an advantage in organic search rankings.
- Compliance Requirements: Many industry standards, such as GDPR, require encryption of personal data transmitted online. SSL helps meet these regulatory obligations.
- Affordable & Accessible: Hosted.com® includes SSL certificates with many hosting plans, making implementation cost-effective.
- Professionalism & Trust: A secure website demonstrates a commitment to safeguarding customer information and enhances overall brand reputation.
- Reduced Risk of Data Breaches: SSL/TLS minimizes the chance of hackers capturing sensitive data during transmission.
- Future Compatibility: Implementing SSL ensures compatibility with new web technologies, including mobile browsers and emerging web standards.
Login to Hosted.com® Account
1. Go to the Hosted.com® website Account Login page.
2. Enter your Email and Password and click the Sign In button.

3. You will see the Hosted.com® Dashboard, displaying the Manage Account menu on the left and your Account Information, Account Overview and Open Support Tickets on the right.

Login to cPanel from your Hosted.com® Dashboard
4. Click on Manage Services to view the sub-dropdown menu and select the hosting package for the domain you want to work with – in our example we are using WordPress Hosting.
5. Click the Manage button to the right of the domain name you want to access.

6. The display will now show Product Information, Quick Manage, Resource Usage and Site Statistics for that domain name.

7. Under Product Information, scroll down to Control Panel, which will display cPanel to the right, and click on the Login button.

8. The cPanel Dashboard will now be displayed.